Heart Health Under Fire: Fried Foods May Increase Early Death Risk
Few comfort foods inspire as much loyalty as a plate of fried chicken with golden, crispy fries on the side. For many, it’s not just a meal—it’s a tradition, a guilty pleasure, or even a weekly ritual. But recent studies are sounding the alarm: eating fried foods daily, especially fried chicken and fries, may be taking a serious toll on heart health and even life expectancy.
Let’s dig into what science says about the risks, and whether fried chicken has a place in a balanced lifestyle.
The Research: Fried Foods and Premature Death
A groundbreaking study published in the British Medical Journal (BMJ) revealed startling findings: women who consumed at least one serving of fried food per day faced an 8% higher risk of early death compared to those who ate fried foods less frequently.
The risk climbed even higher when looking specifically at fried chicken and fried fish. The heavy oil content, trans fats, and added sodium all contribute to heart disease, obesity, and metabolic disorders—conditions strongly linked to premature mortality.
In short, that crispy drumstick might be more dangerous than it looks.
Why Fried Chicken Is Riskier Than Other Meats
While fried fish and other fried foods also carry health risks, fried chicken appears especially problematic. Here’s why:
- Double Frying & Breading: Chicken is usually breaded before frying, which adds extra refined carbs and calories.
- High Oil Absorption: Chicken absorbs more oil than lighter foods, compounding its fat content.
- Pairing With Fries: Fried chicken is rarely eaten alone—it’s usually paired with fries, sodas, or biscuits, creating a calorie-dense, nutrient-poor meal.
The combination of fried chicken and fries is one of the most energy-heavy and least heart-friendly meals on the menu.
How Fried Foods Affect the Heart
- Cholesterol Spike: Fried foods increase LDL (bad cholesterol) while lowering HDL (good cholesterol).
- Blood Pressure: The sodium-heavy coatings and seasoning raise blood pressure, straining cardiovascular health.
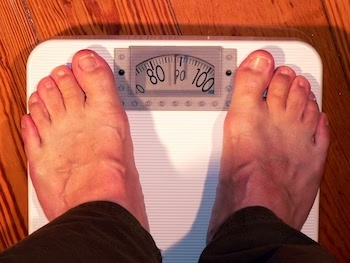
- Weight Gain: With one fried chicken meal easily topping 1,200 calories, regular consumption fuels obesity—a key risk factor for heart disease.
- Inflammation: Cooking oils reused at high heat create harmful compounds linked to chronic inflammation.
When combined, these factors increase the risk of atherosclerosis, heart attacks, and strokes.
The “Everyday” Trap
Part of the danger isn’t just fried chicken itself, but the frequency of consumption. Eating it once in a while may not be catastrophic, but making it an everyday habit builds up cumulative risks.
Think of it this way: your arteries don’t recover overnight. Each fried meal adds more strain, fat, and sodium—eventually tipping the balance toward long-term health damage.
Is Moderation Possible?
Completely swearing off fried chicken may feel unrealistic, especially in cultures where it’s a beloved staple. But moderation and mindful choices can reduce the risks.
- Limit Frequency: Reserve fried chicken for once or twice a month, not daily.
- Portion Control: Opt for smaller servings instead of large buckets or combo meals.
- Healthier Oils: At home, use heart-friendly oils like olive or avocado oil, and avoid reusing oil.
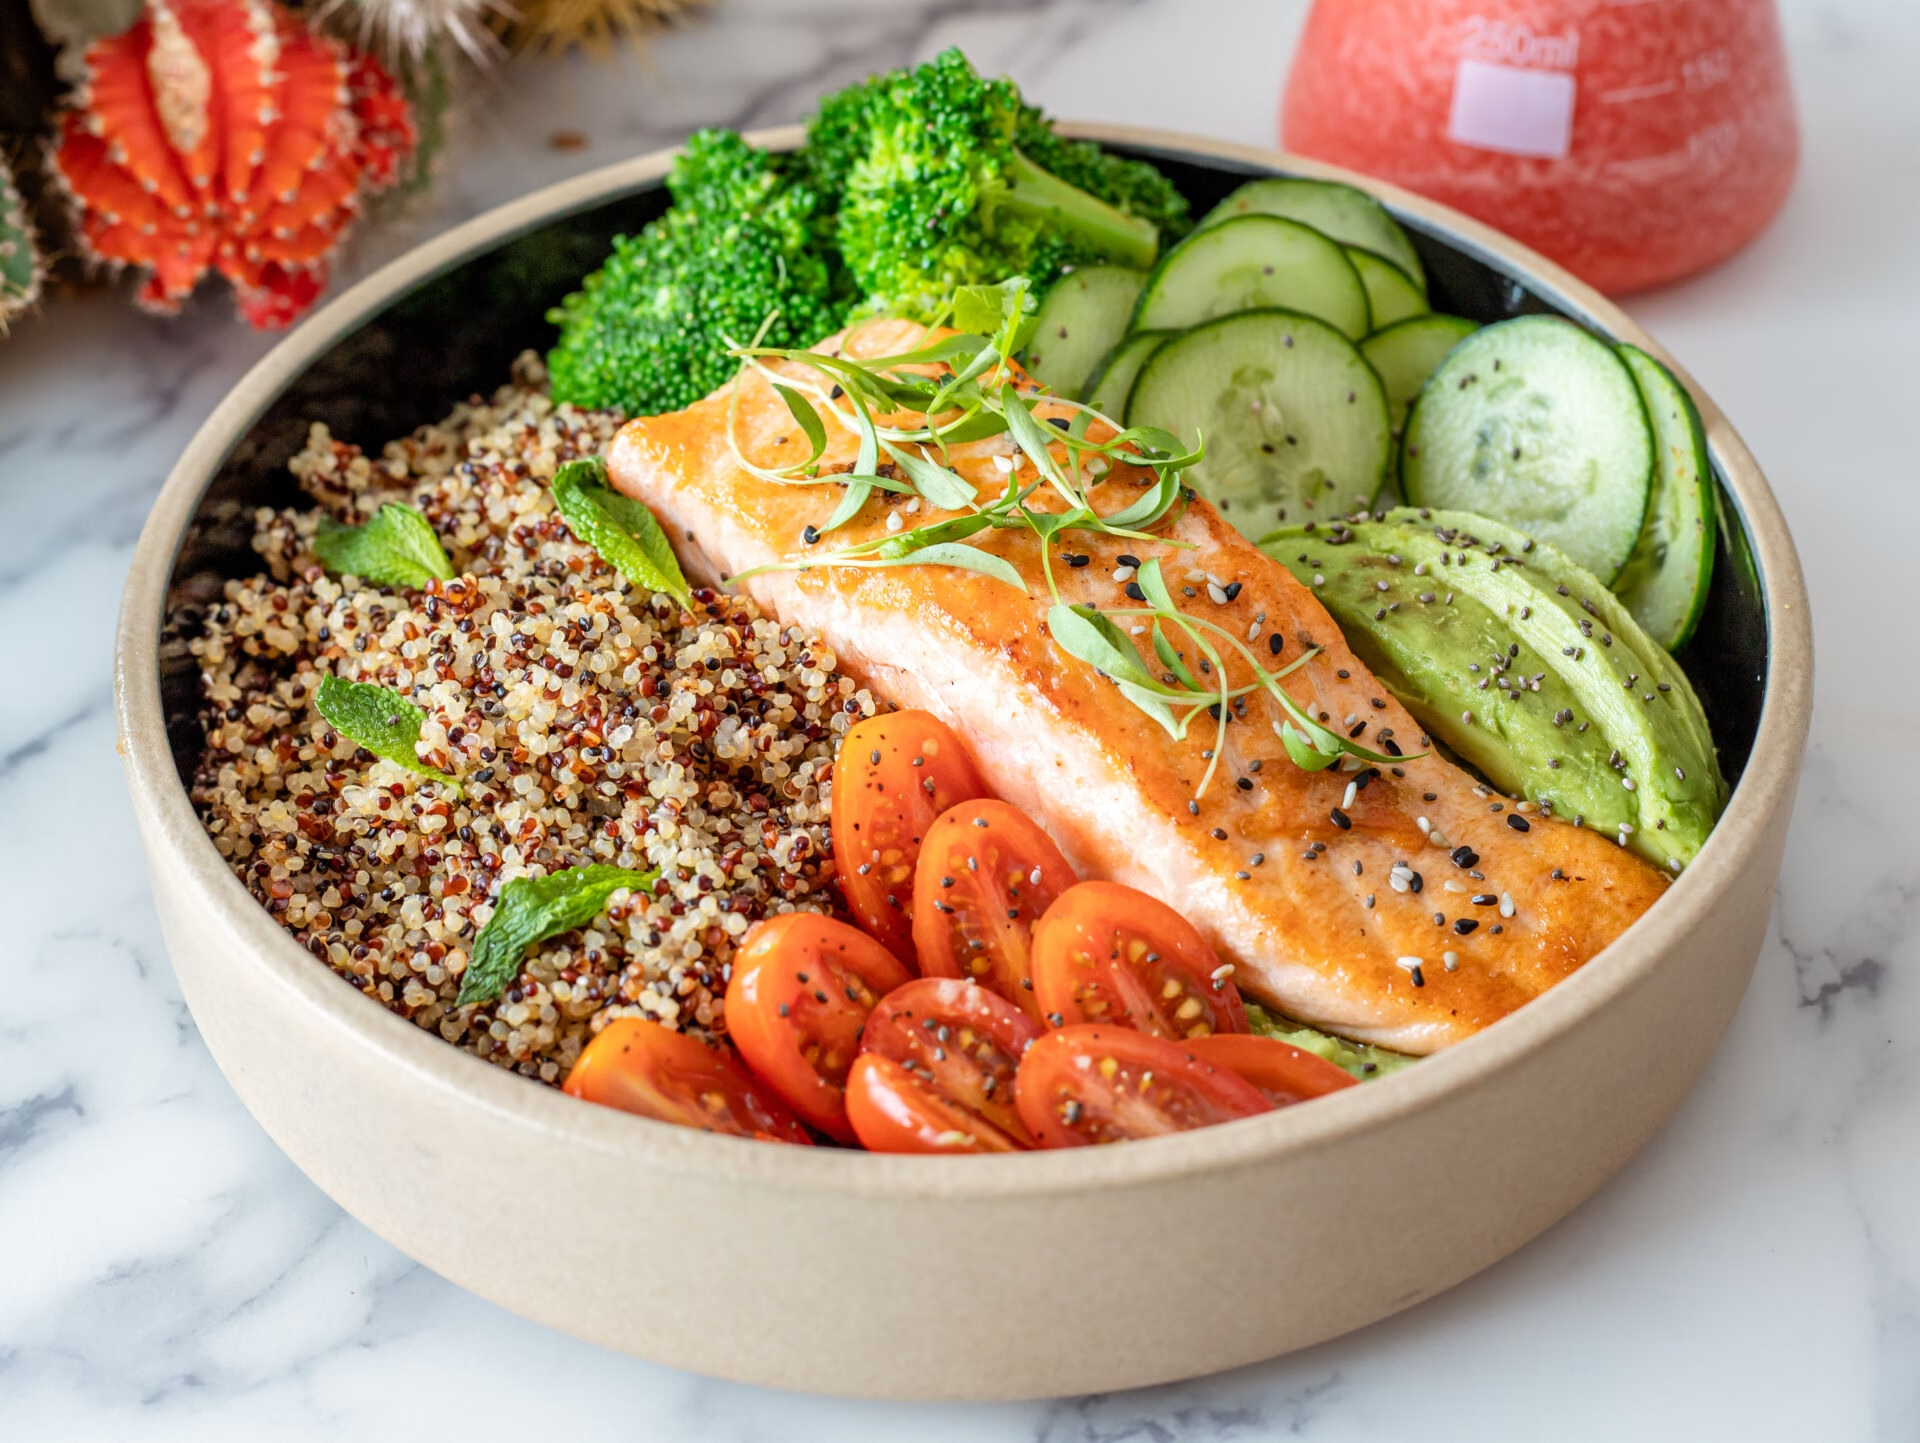
- Balance With Veggies: Swap fries for roasted vegetables or a fresh salad to add fiber and nutrients.
- Explore Alternatives: Air-fried chicken can mimic crispiness without the heavy oil load.
What This Means for Public Health
The BMJ study highlights more than just individual diet choices—it points to a public health challenge. Fast-food chains and quick-service restaurants continue to make fried chicken meals cheap, accessible, and appealing. For communities already battling obesity and heart disease, this raises serious concerns.
Greater awareness, nutrition education, and healthier menu options could help shift the balance. But at the end of the day, personal responsibility plays a huge role in reducing risk.
The Bottom Line
Fried chicken and fries may taste like heaven, but daily indulgence could be cutting years off your life. Science shows that frequent fried food consumption directly correlates with higher risks of obesity, cardiovascular disease, and premature death.
The good news? You don’t need to abandon fried chicken altogether. By practicing moderation, exploring healthier cooking methods, and balancing your diet, you can still enjoy your favorite comfort food—without sacrificing your long-term health.
When it comes to heart health, fried chicken should be a treat, not a daily habit.