Low blood pressure (also known as hypotension) is often less talked about than high blood pressure, but it can be just as concerning for overall health. While some people naturally have lower blood pressure without experiencing any symptoms, others may notice signs that interfere with daily life. Understanding these symptoms early on can help prevent complications and guide you to seek proper medical advice.
What Is Considered Low Blood Pressure?
Blood pressure is measured in millimeters of mercury (mmHg). A reading lower than 90/60 mmHg is generally considered low. However, “normal” blood pressure varies between individuals, so what’s low for one person may be fine for another.
Common Signs of Low Blood Pressure
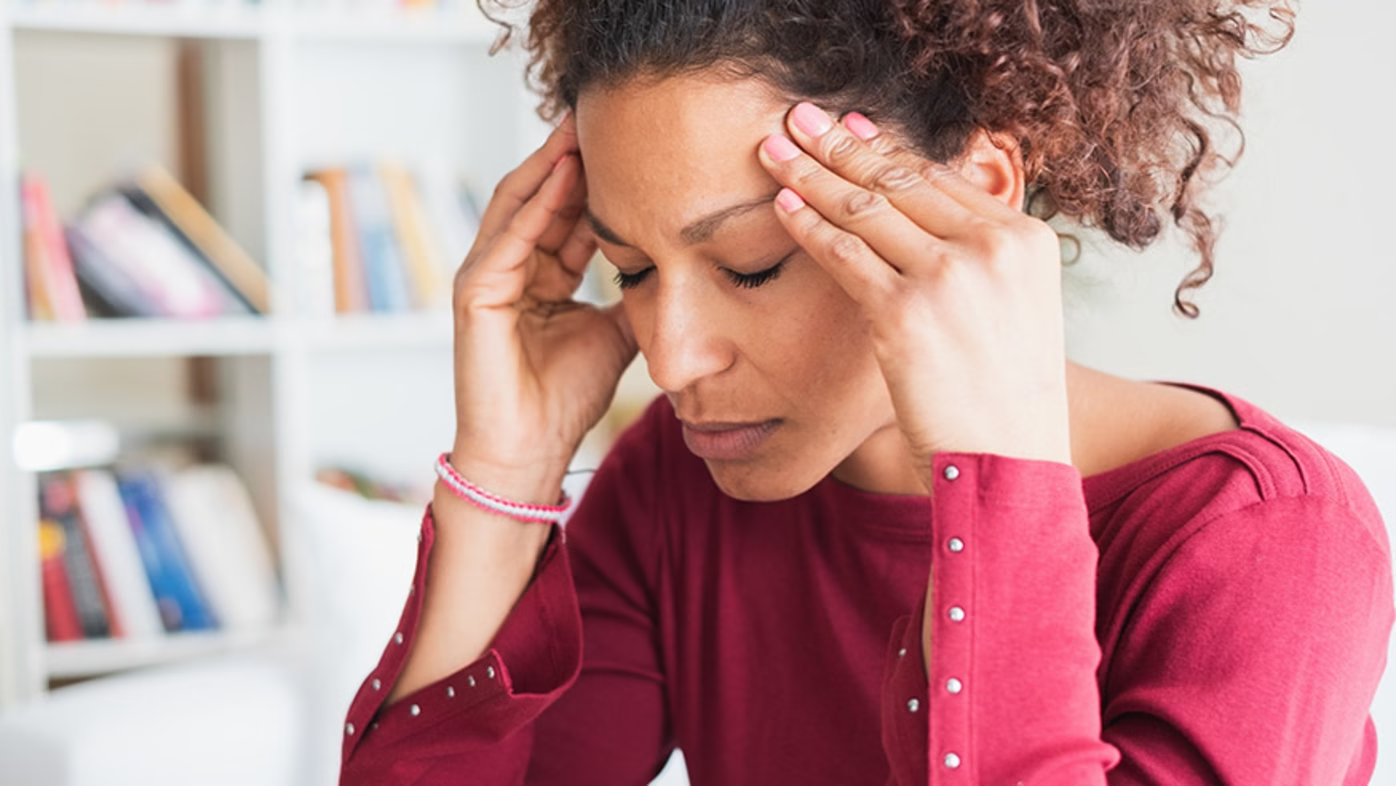
- Dizziness and Lightheadedness
Feeling dizzy when standing up suddenly (orthostatic hypotension) is one of the most common signs. It happens when your body struggles to regulate blood flow quickly enough. - Fainting (Syncope)
In more severe cases, low blood pressure can lead to fainting. This occurs when the brain temporarily doesn’t receive enough blood flow. - Blurred or Fuzzy Vision
If your blood pressure dips too low, you might experience trouble focusing or see things blurry for short periods. - Nausea
Many people with low blood pressure complain of nausea or even vomiting, especially when paired with dizziness. - Extreme Fatigue
Low blood pressure can limit the oxygen supply to the body’s organs, leaving you feeling unusually tired and weak. - Cold, Clammy Skin
Poor circulation caused by hypotension can result in cold hands and feet, sometimes accompanied by pale or bluish skin. - Rapid, Shallow Breathing
When your blood pressure is too low, your body may compensate by speeding up your breathing. - Confusion or Difficulty Concentrating
Reduced blood flow to the brain can affect your thinking and memory, making it harder to stay alert.
Causes of Low Blood Pressure
There are multiple causes of low blood pressure, including:
- Dehydration – Not drinking enough water reduces blood volume.
- Heart problems – Such as slow heart rate, valve issues, or heart failure.
- Endocrine disorders – Low thyroid or adrenal issues can contribute.
- Nutritional deficiencies – Lack of vitamin B12 or folate can cause anemia, lowering blood pressure.
- Medications – Some antidepressants, diuretics, and heart drugs may reduce pressure.
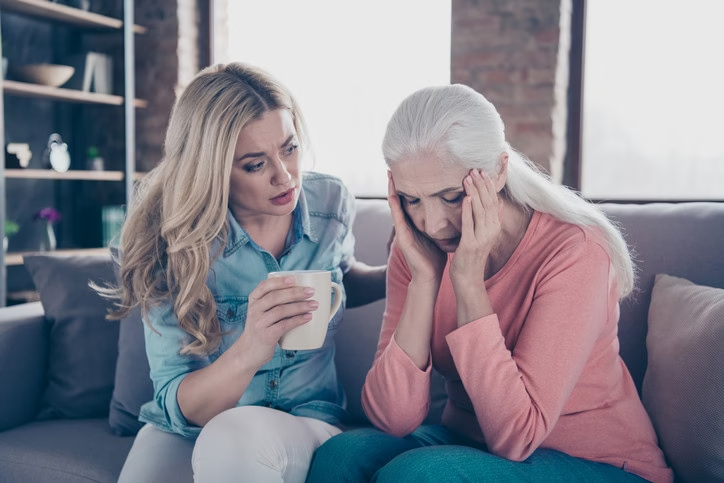
When to Seek Medical Help
Not all instances of low blood pressure are dangerous. But if you’re experiencing frequent symptoms — like fainting, severe dizziness, or chest pain — consult a doctor immediately. Persistent hypotension could be a sign of an underlying health issue.
Tips to Manage Low Blood Pressure Naturally
- Stay Hydrated: Drink plenty of water throughout the day.
- Eat Balanced Meals: Include enough salt (under doctor’s guidance) and nutrient-rich foods.
- Avoid Sudden Position Changes: Stand up slowly to prevent dizziness.
- Wear Compression Stockings: These can help improve circulation.
- Exercise Moderately: A daily walk or light activity can regulate blood flow.
Final Thoughts
Low blood pressure isn’t always a cause for panic, but understanding the signs of low blood pressure can help you take timely action. Whether it’s dizziness, fainting, or unexplained fatigue, paying attention to your body’s signals can prevent complications and keep your health in check.